Can you enjoy the sunrise if you are cold, wet, and hypothermic? Can you enjoy the sunrise if you are ensconced in layers of warm down with a mug of hot coffee in your hands? Enjoyment and delight in nature is so much easier if you are comfortable.
I’ve spent many years as an outdoor professional hiking and adventuring in cold and wet weather, and have come to love the time I spend outside, even in the worst weather. Why? Because I’ve slowly evolved my systems so that I can be comfortable in just about any context. In fact, I think more folks will come to outdoor pursuits if we keep comfort at the top of the to-do list.
I outlined my “comfort in the cold” strategy for a month-long Blue Mountains Trail thru-hike in October of 2020. During the hike, temperatures ranged from 70 to 5 degrees. My general rule of thumb was to plan for the worst conditions I could imagine; if the worst never came I’d still be comfortable...or if the worst came every day of the trip, I would still be able to continue.
Shelter
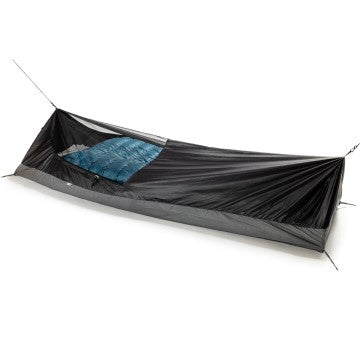
Freestanding tent - I set out to hike almost 500 miles in a month, and knew that October would bring short daylight hours. Most days I would be hiking until dark and possibly pitching my shelter on snow or frozen ground. If I was cold and wet I would need to get into my shelter fast and change clothes to prevent hypothermia, so I choose to bring a free-standing double-walled shelter. A double-walled shelter, even though it is heavier, can save you and your gear from becoming soaked (have you ever brushed the inside of a single-walled tent when it’s wet?). I also used my tyvek groundsheet on the inside of the tent as an extra moisture barrier because I knew my body heat would melt the snow or ground beneath me.
Two sleeping pads - I love sleeping on air and have used inflatable pads for years in all types of weather. In the winter hikers need to be aware of the law of thermal conduction. Simply stated, if you sleep on the ground and the ground is colder than you are, the ground will suck the warmth from your body until you are the same temperature as the ground. So to keep the air in my sleeping pad from becoming the same temperature as the ground, I take a closed-cell foam sleeping pad to use beneath the inflatable sleeping pad. It’s amazing how much warmer even an eighth-inch piece of foam will make you.
Shelter storage - Your tent will get frosty at night, primarily from your breath freezing on the inside of the shelter. Bring a separate waterproof stuff sack for a wet tent (if you are storing the tent in your pack) or keep it on the outside of your pack. You can take it out to dry during the day, but realize it might not get warm or sunny enough for a drying session, so plan to manage the cold and wet as if you won’t get the opportunity.
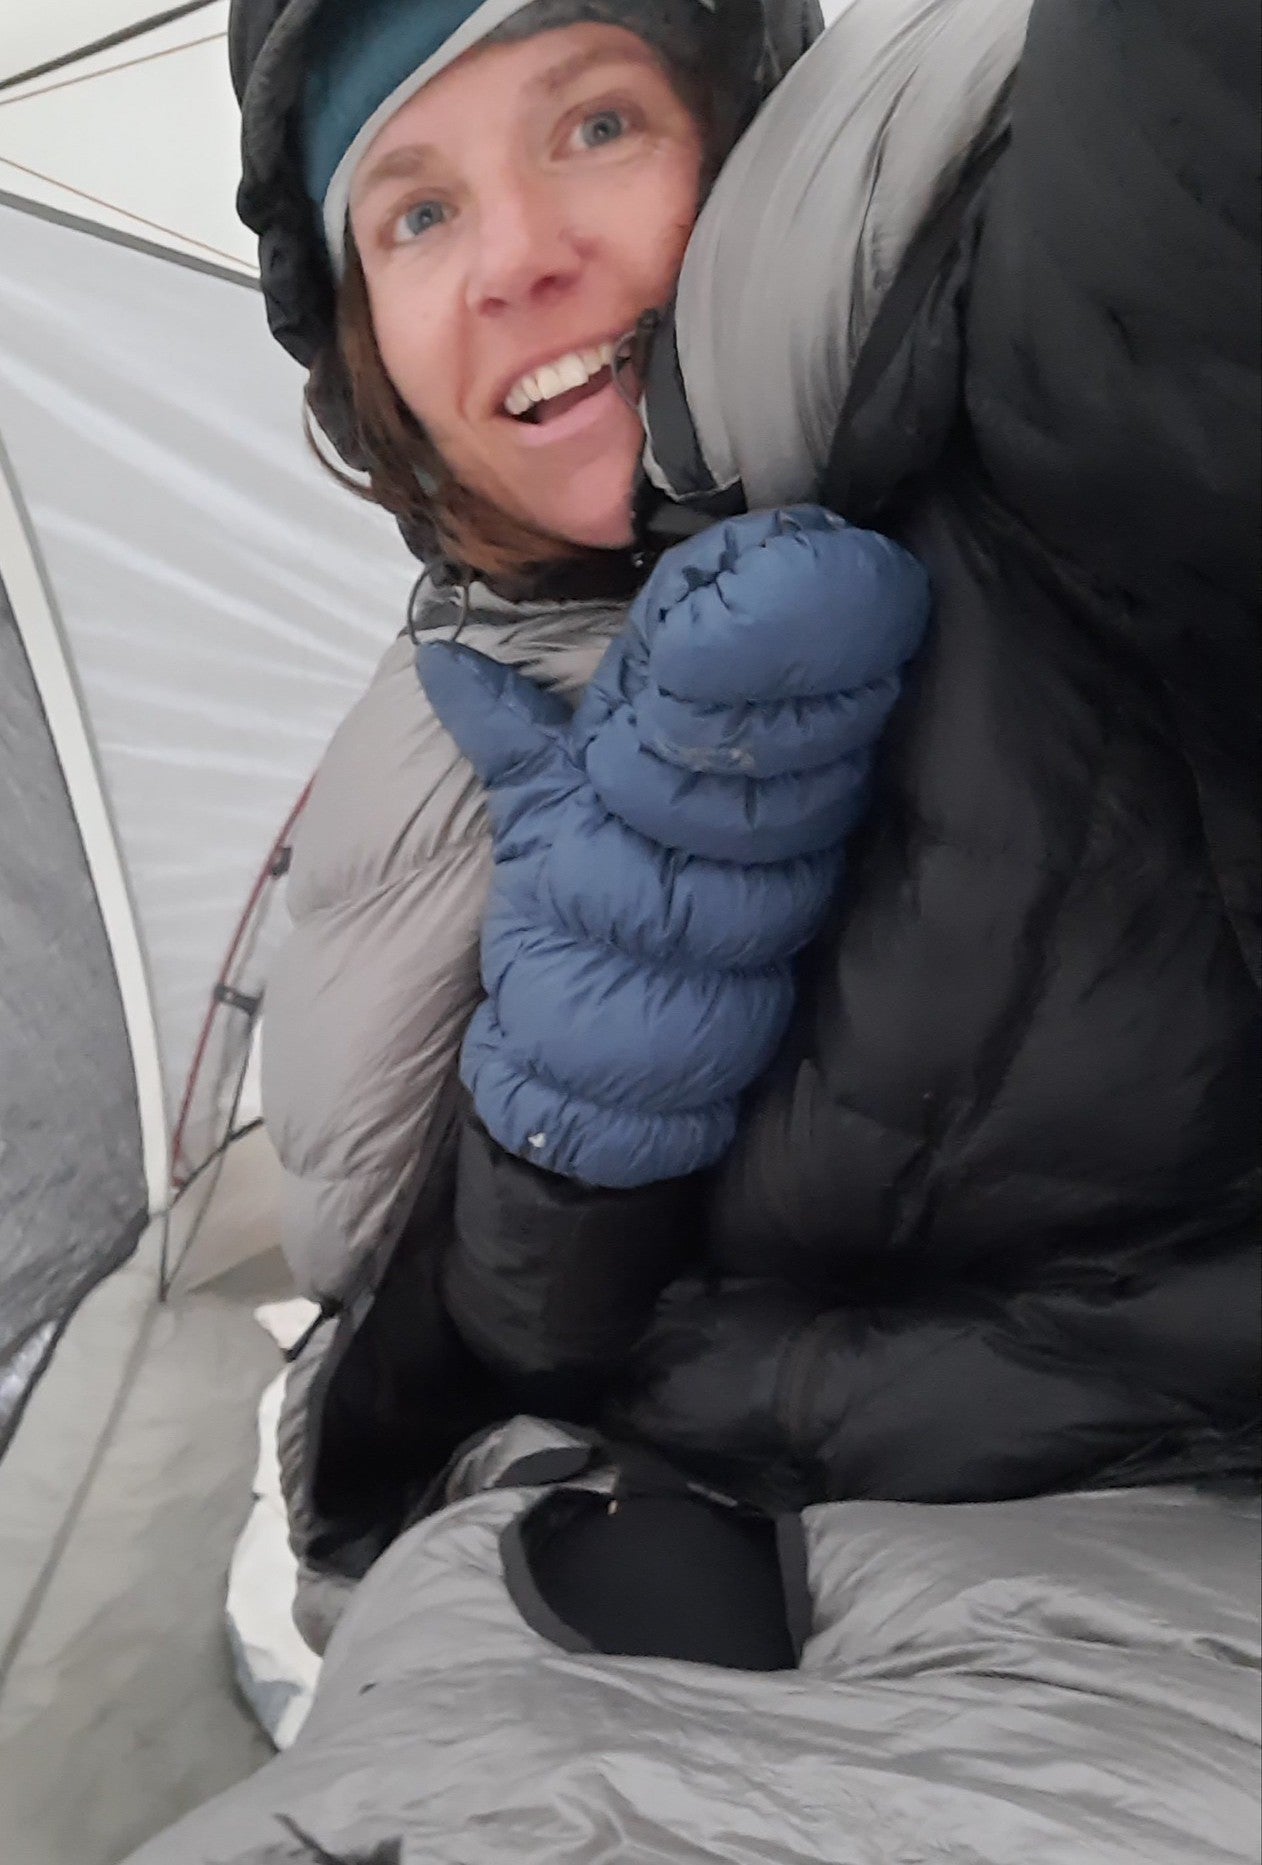
I learned to wear my Katabatic quilt as a cape to stay warm while cooking dinner. Photo by Renee Patrick
Sleep system
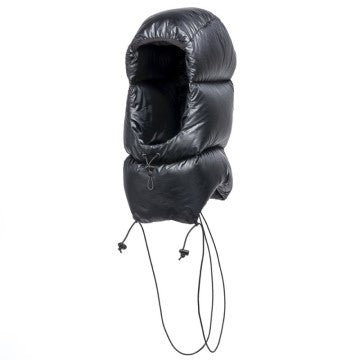
Down booties - Warm and dry down is the lightest and warmest insulation available, and wearing down booties at night does wonders to keep my appendages toasty warm even in the coldest temps.
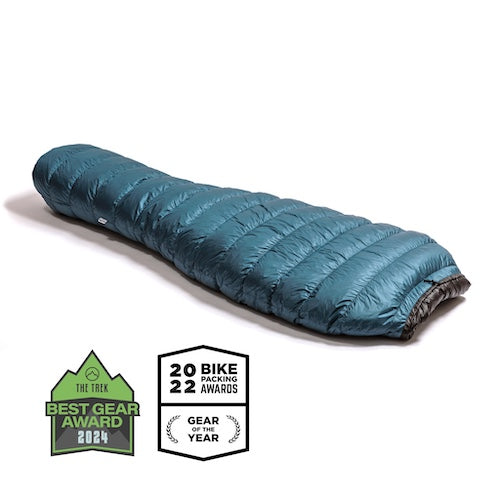
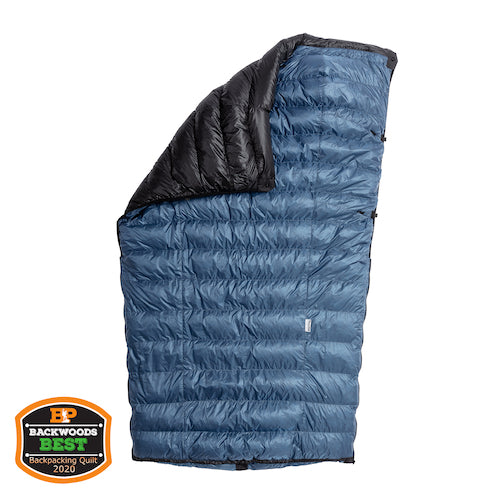
Sleeping quilt/bag - Take a quilt or sleeping bag that matches or is rated for colder temps than you expect to encounter. This was the first time I used a cold-weather quilt, and Katabatic’s version was amazing. I discovered on one very cold night that I could turn the quilt around, keep my legs in the bottom half, and wear the top as a cape. I buttoned the quilt around my neck, which left my arms free to cook and eat. So cozy! And during the night I slept with my hooded fleece layer and my hooded down coat on so that I had three layers of warmth on my head: hat, fleece hood, down hood. Yes, even with a hoodless quilt you can keep your head warm, use those hoods!
Fill that empty space - if you find your sleeping quilt has a ton of extra space in it, try to fill that space with extra gear. Down works when your body heats the layer of air between you and the down. The more air your body needs to heat, the longer that space will take to get warm.
Don’t wear wind-blocking/waterproof layers to bed- If you block your body’s ability to warm the air in the quilt, you will not get warm, so take those raincoats, wind coats, and rain pants off. They will only prevent you from getting as warm as you could have.
Keep cold-vulnerable items warm at night - Electronics, medications (my epi pen), and wet wipes all come into the quilt with me at night. Think through all the things in your pack that could get damaged (or unusable) due to the cold, and throw them in your quilt with you.
Damp in the bag- It’s true that you can sleep with damp clothing and dry it out overnight with your body heat, but there are limits. Simply tossing your wet socks into the bottom of your bag might not do the trick if they get wadded up and never are exposed to your body heat. So I put things like mittens and socks next to my body in my long johns. Seriously. It’s a little cold at first, but they are toasty dry by morning.
Wear damp clothes to bed - Take the previous suggestion to the next level. The quickest way to dry a damp shirt is to wear it. Granted, this step should not be taken until you yourself are warm. Once your body has warmed up, you have eaten, and that internal furnace is stoked, take a deep breath and put that wet shirt on. It will suck, it will feel uncomfortable, but by morning your body will have dried it.
Hot water bottle- You can take a hot water bottle to bed if you have the right kind of bottle (I’ve only been comfortable doing this with a Nalgene). Pour some boiling water into your bottle and throw it to the bottom of your sleeping bag, or cuddle it.
Water
Insulated water bottle- Cold weather hiking isn’t exactly ultralight, but the added weight to your pack will pay you back in comfort and help you stay alive. One good example is an insulated water bottle. Hot drinks during the day? Yes please! More importantly though, on really cold nights all of your water will freeze. Yep. You may not have drinkable water to start off the day or for the first few miles of your hike, so make sure to fill your insulated water bottle before you go to bed and you will have ice-free water in the morning.
Water bladder hoses can freeze - It’s much harder to use a water system in the winter that involves a drinking hose. If it’s warm enough during the day that your hose won’t freeze, it often will at night. There are coozies you can buy that will insulate your water hose, but at night your best bet is to either blow the water out of your drinking tube or remove the tube altogether so it will be useable in the morning.
Water filters - I love a good lightweight water filter most of the time, but in the winter a typical membrane-style filter freezes. The expanding of water to ice will break apart the filtration membranes, and all the things you don’t want to drink will get through. One option is to keep your filter in a pocket all day and only bring it out when you need it or carry a chemical treatment. Note: really cold water can take longer to purify, sometimes doubling or tripling the time needed. Different chemical purification systems have different temperature recommendations...make sure to read up on that before you head out.
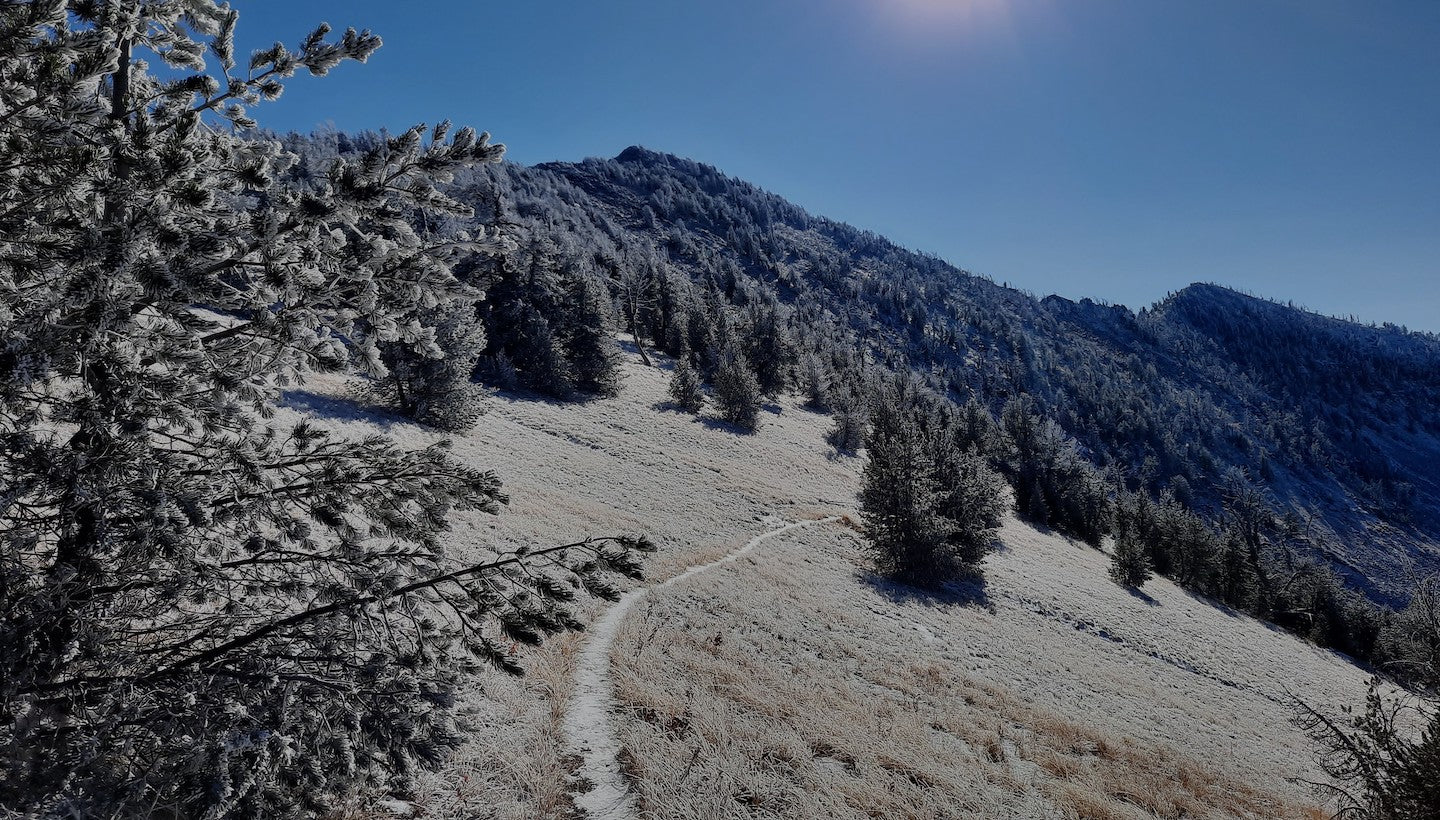
Melt snow - Several times on my October hike I couldn’t find water because the small creek I had expected to access had frozen solid. That can be a problem, but not if there is snow! You can melt snow for water, but this method will use extra fuel and time. When putting snow into your cooking pot, add a little water (if you have it), and stir it frequently; this will speed up the melting process. If you have an insulated water bottle, add some hot water and then periodically add some snow and shake it up. Note: you don’t need to bring snow water to a boil, and in winter I carry a larger pot than in the summer for snow-melting purposes. For reference I use the TOAKS 550ml pot in warm hiking weather, the 900ml in cold.
Be prepared to melt snow for water in cold weather. Photo by Renee Patrick
Hiking
Layer it up - It’s all about layering while you are hiking in cold weather. Below are the layers I carry:
Long sleeve merino/fleece shirt/longjohns - Carry base layers that will still keep you warm if they get wet.
Synthetic vest - Synthetic insulation is good at keeping you warm even if it gets wet...and a vest does wonders to keep your core warm.
Down coat- Unless you are hiking in a very wet climate, down is the best insulator, however, it does not keep you warm if it gets wet, so protect this layer with a good waterproof shell.
Gortex Jacket- Winter is not a time to use just any old raincoat. You want a layer that will 100% keep you dry. Read that again, you need to trust that this layer will keep you dry, so I carry a 3-layer Gortex jacket. It’s heavy, yes, but I trust it.
Gortex socks - Cold wet shoes in the morning? Cold wet shoes all day long? Gortex socks can be worn over your regular socks and keep your feet warm and dry no matter the condition of your shoes. Note: folks with sweaty feet will still get damp socks, but it won’t be nearly as uncomfortable as the alternative.
Rain pants- I usually wear a hiking skirt (even in cold temps) and make a rain skirt out of a trash compactor bag, but in cold weather, I need to know that I can be in a totally waterproof shell of clothing, so I also bring good waterproof rainpants to wear over my long johns on really cold/wet days.
Snow gaiters- Postholing is the suckiest part of hiking in the snow. Snow gaiters are a brilliant way to keep the snow out of your shoes, they help keep your legs and feet warmer, and tall snow gaiters are also useful in a bushwhack.
Umbrella- Umbrellas aren’t just great in the rain and sun, but in the snow! Keeping your head and shoulders dry will go a long way to helping you stay comfortable.
Mittens - I’ve always found mittens keep my hands much warmer than gloves.
Waterproof shells - To protect my mittens from getting wet, I carry waterproof mitten shells.
Warm hat - A warm hat is pretty self-explanatory. I carry a warm hat even in the summer.
Big down mittens for real cold - When it’s going to be really cold I carry down mittens. They are amazing.
Stop and switch layers when needed- So you have all these layers in your pack, and now you need to use them. Stop and switch out layers when you are sweaty and when you are cold. It’s super important to do this before you are drenched in sweat or are so cold that you can’t zip your zippers. Once you get really cold and hypothermic (sweat can turn on you in a minute and chill you to the bone in the right weather), it can be a struggle to get your body temperature up again.
Moving is the best way to keep warm - If you do get so chilled that you start to stumble, mumble, and have trouble using your fingers, the fastest way to warm up is to move. Move fast. Jog, run, just keep moving. In addition, think about how you can meet your needs most efficiently without stopping. Eat? Drink water? Pee? (My life has greatly improved since I started carrying a PStyle...this funnel enables me to keep my pants on while I do my business, and that keeps me much warmer). I also carry a fanny pack so I can store snacks (lots of snacks) in an easy-to-access place, and I always have an insulated water bottle within reach.
Sun protection- A sunny day on the snow can cause snow blindness if your eyes aren’t protected (it feels like sand in your eyeballs), so don’t forget a good pair of sunglasses. Snow also reflects sunlight up, so that means you can get a sunburn under your chin, or under your nose (that is PAINFUL); don’t forget your sunscreen.
Bring lots of layers and switch out those layers during the day in the goal of maximum comfort. Photo by Renee Patrick
Food
Food can freeze - Have you ever tried to eat a frozen snickers? (They are delicious by the way, but hard to eat) Or an orange, apple, or peanut butter packet? Almost impossible. Think about freezing food when you are doing your resupply, and keep any food you want to eat that might turn into a brick in the cold in your pockets or next to your body. Your body is the best source of heat while you are out there, so use it.
Eat more- We all know it’s hard to carry enough calories to hike a 20-mile day in the summer, but it’s even harder in the winter. Your body will burn more calories in the winter because it’s trying to keep you warm...so make good choices about the types of calories you are bringing, load up on the snacks!
Hot drinks - Some of those extra calories can come in your drinks. If you carry an insulated water bottle, make some hot chocolate in the morning and sip on it during the day. Hot cider mixes are full of sugar (and calories), and even tea with honey can make a huge difference in morale on a cold grey wet day. All hail the hot drinks!
Dinner- Many dehydrated dinners require some soaking time, so put that hot water to use; put the pouch of food in your coat to rehydrate. That heat can help you stay warm until dinner is ready.
Stoves- Cold weather isn’t a great time to go stoveless for all the reasons mentioned above. The type of stove you bring is also very important; choose a stove that you know will work in a pinch, is efficient (if you are making hot drinks and melting snow you will need a lot more fuel), and is fast. I like a canister stove in the winter and take much more fuel than I normally would.
Cold weather long-distance hiking does take more preparation, gear, and thoughtfulness than warm weather hiking, but you can do it, and you can be comfortable.
(P.S. Hiking in the winter can also be called cross-country skiing or touring...it’s so much fun!)
Renee “She-ra” Patrickhas been hiking long-distance trails for almost 20 years. She is a triple-crown hiker with well over 11,000 trail miles under her belt.. When she isn’t busy at work establishing the 750-mile Oregon Desert Trail, she can be found packrafting, rafting, backcountry skiing, or just forest bathing.